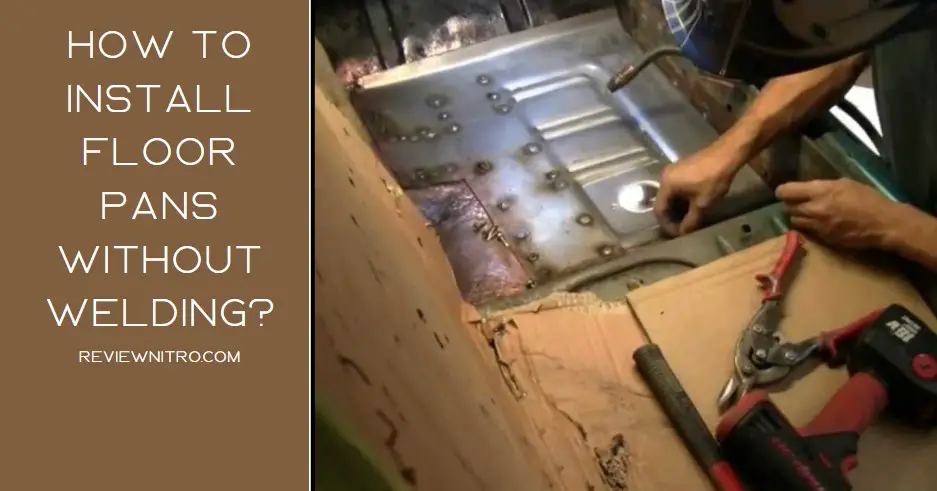
How to install floor pans without welding? The floor pan is an essential component in vehicle restoration, as they provide structural integrity and protect the car’s interior from external elements. Traditionally, TIG or MIG welding has been the go-to method for installing a full-floor pan.
However, there is an alternative approach that allows you to install floor pans without welding, making the process more accessible and straightforward. And this article will teach you how to install floor pans without welding because installing floor pans is not hard.
Table of Contents
Tools and materials
To answer the question, of how to install floor pans without welding, you first need a few tools and materials to ensure a successful and efficient process.
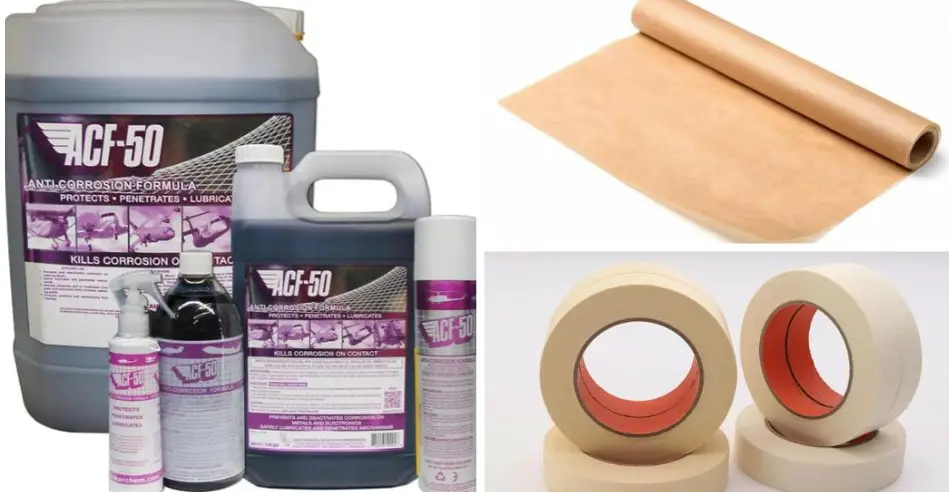
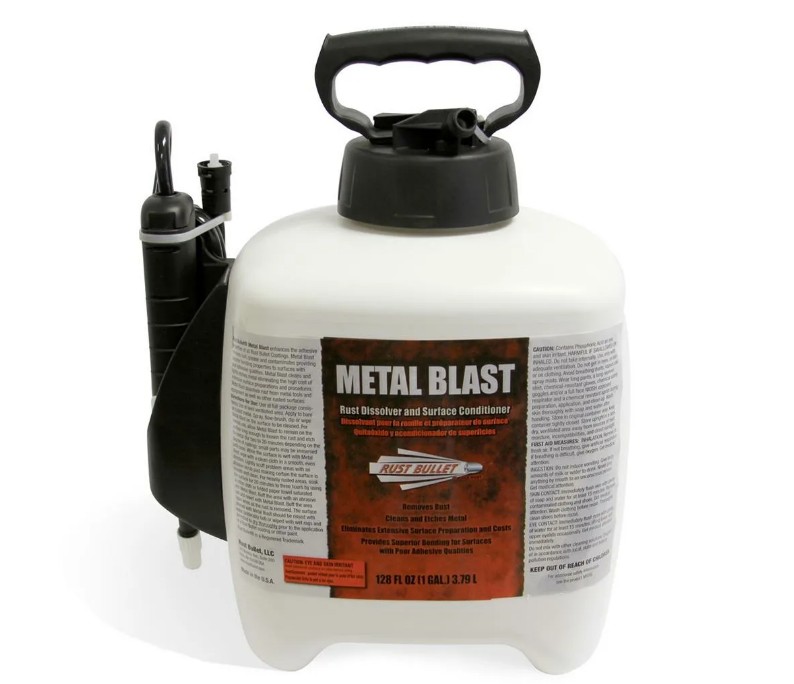
Key tools include a floor plan tailored to your vehicle model, a drill with appropriate bits, a screwdriver, seam sealer, adhesive (such as metal blast glue), wire wheel or wire brush, electric or cordless drill, air drill, spot weld cutter tool.

Also, you will need an angle grinder, safety glasses, parchment paper, masking tape, rust-proofing products (e.g., Rust Bullet), a rust converter, rust-resistant primer, thin sheet metal for patch repairs, and duct tape.
Proper surface preparation is essential before installing the pans. Use wire brushes and degreasing cleaners to remove grease and dirt, creating a clean and smooth surface. This ensures a secure and durable bond when attaching the floor pan.
Additionally, parchment paper and masking tape can help create templates and mark precise lines for accurate cuts. Using rust-proofing products, converters, and primers protects against future corrosion, preserving the integrity of the floor pan and the vehicle.
By having the necessary tools and materials and following these steps, you can install a floor pan without welding effectively. Proper surface preparation, precise cutting, and rust prevention measures contribute to the durability and longevity of the floor pan.
Preparing the vehicle for a new floor pan
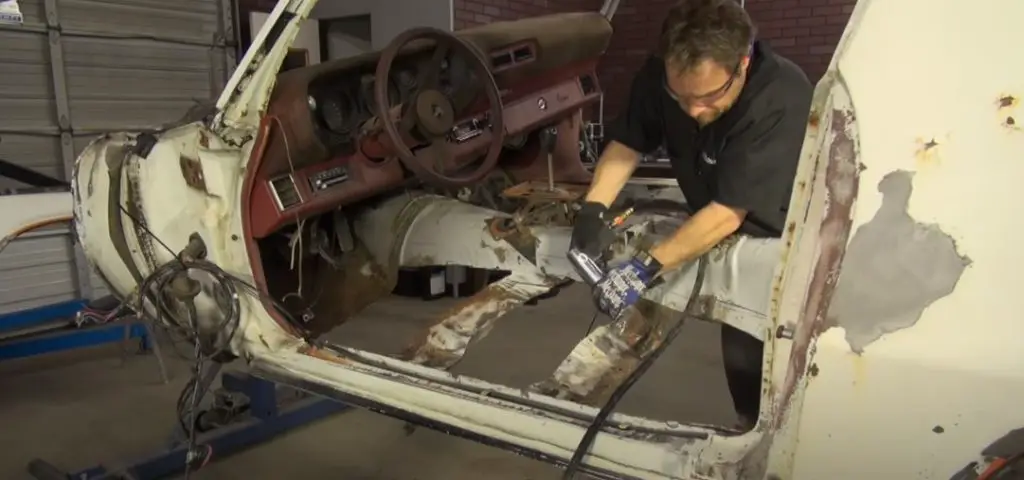
Before installing the new floor pan, thorough preparation of the vehicle is crucial. Begin by removing the seats, carpet, and any obstructions that could hinder access to the floor pan. Next, remove the old floor pan to create a clean workspace.
Take the time to clean the floor area meticulously, removing dirt, rusty floor, and debris. Inspect the surface for rust damage or structural issues that require addressing before proceeding.
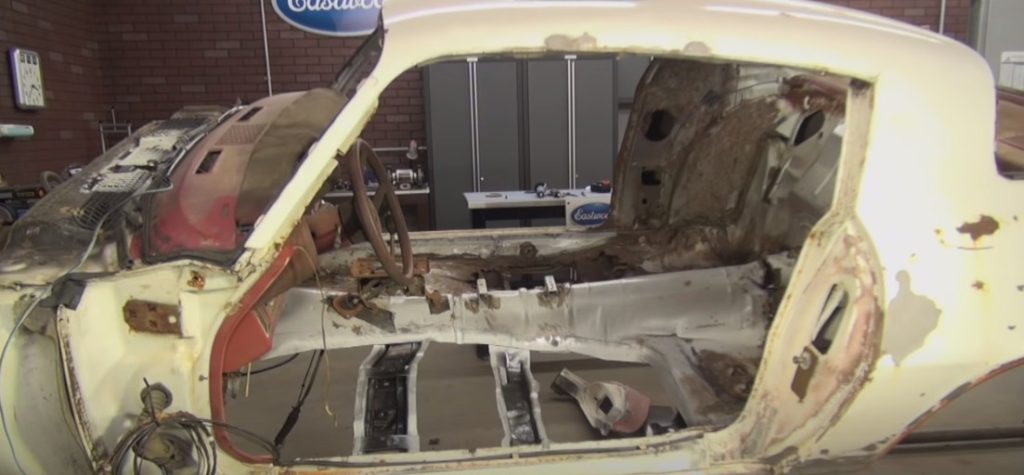
Damaged floor pans
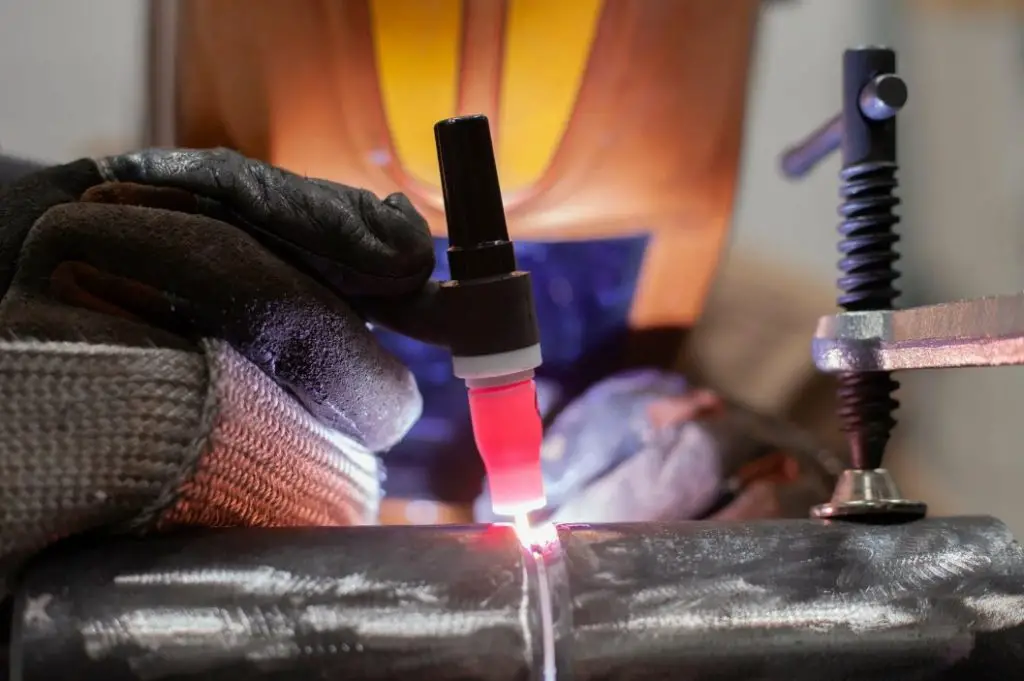
When dealing with a damaged floor pan, it is common to encounter spot-welded areas that require attention. To address these spot welds, a patch panel can be used. A patch panel is a piece of sheet metal specifically designed to replace the damaged sections.
TIG welding, a precise and controlled welding technique, is often employed to create these spot welds, ensuring a strong and reliable bond between the patch panel and the existing floor pans. Taking the time to properly align the patch panel and execute the spot welds using TIG welding ensures a seamless repair, resulting in a durable and aesthetically pleasing outcome.
Removing old floor pans
When it comes to installing new floor pans without welding, it’s important to ensure that the process begins by replacing floor pans. Taking the time to remove these slats will create a clean and smooth surface for the installation of the new floor pan.
Before installing floor pans, remove the old floor pan, and start by carefully inspecting and identifying the fasteners holding them in place.
These fasteners may include screws, bolts, or rivets. Using the appropriate tools, such as a screwdriver or a drill, carefully remove these fasteners, ensuring not to damage the surrounding areas or components.
Wire brushes and degreasing cleaners are excellent tools for effectively removing any accumulated grease or dirt on the surfaces. This thorough cleaning process not only prepares the surface for the installation of the new floor pan but also ensures its proper fit and long-lasting performance.
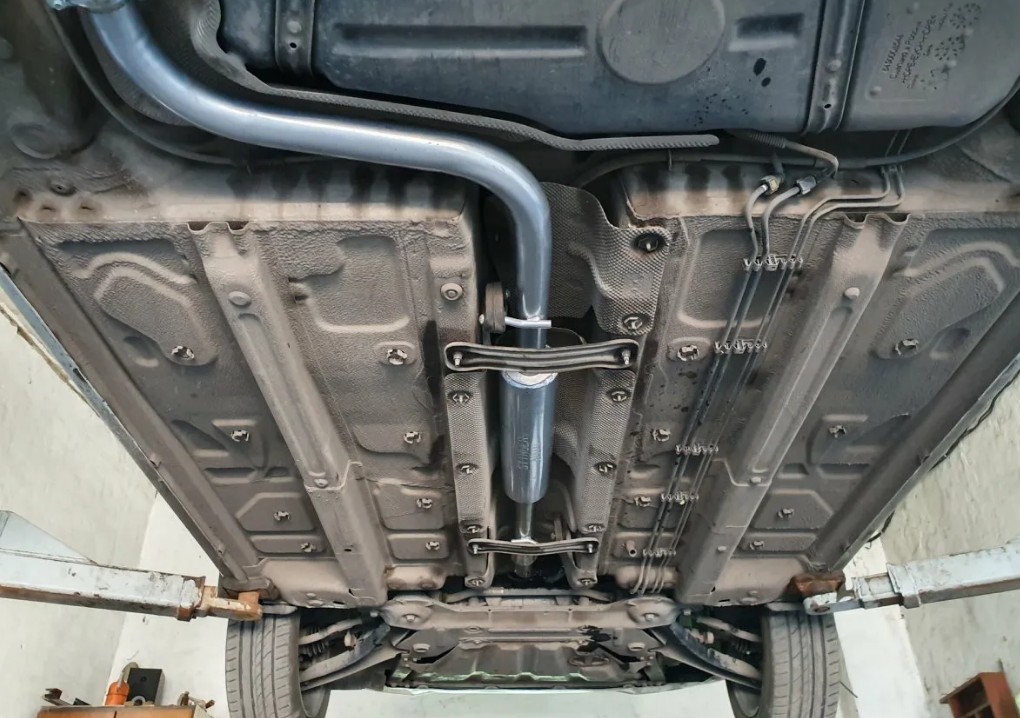
Fitting the floor pans
Successfully installing floor pans, and achieving a precise fit, is of utmost importance. Begin by aligning the new floor pans with the existing floor plan, carefully matching the contours of the vehicle’s floor.
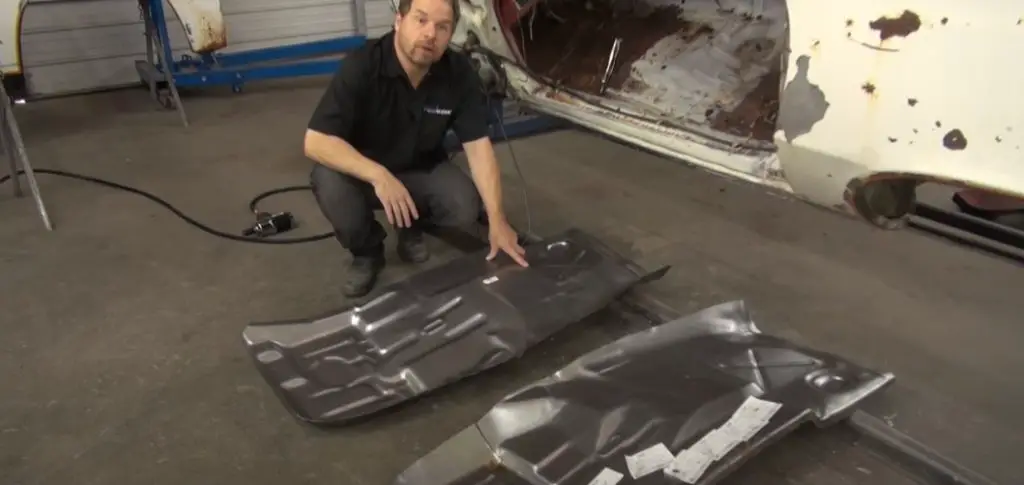
This meticulous approach will not only enhance the overall appearance of the interior but also ensure the long-term durability and functionality of the installed floor panels. By focusing on achieving a precise fit, you can enjoy a seamless integration that adds value to your vehicle restoration project.
Marking and drilling holes
Accurate marking and drilling of holes at each spot weld are vital for secure floor pan attachment. Begin by marking the areas on both the floor pans and the vehicle’s body where holes need to be drilled.
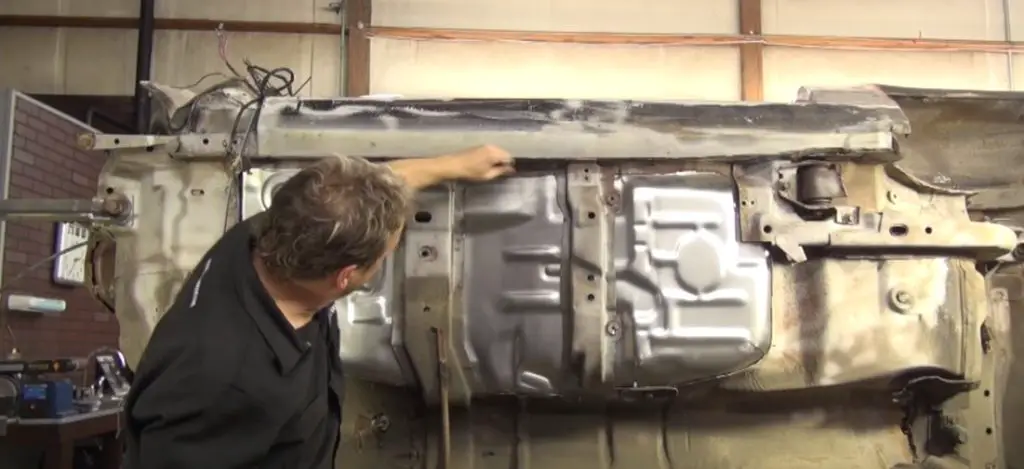
To provide a starting point for the drill, create an indentation at each marked spot using a center punch. With the appropriate drill bit, carefully drill holes in the marked positions, ensuring proper alignment.
Attaching the floor pans
When it comes to installing floor pans without welding, there are various methods you can choose from. One popular option is utilizing screws, bolts, or rivets to firmly secure the floor pans in place.
When repairing sheet metal without welding, cutting pans can be used to remove the damaged sections before applying adhesive and attaching new sheet metal patches for a seamless and durable repair.
It is essential to select the appropriate fasteners that are compatible with both the material of your floor pans and the body of the vehicle. This consideration ensures a reliable and long-lasting attachment.
To install floor pans, it is crucial to follow the manufacturer’s instructions and guidelines for the chosen fastening method. These instructions will provide specific details on the recommended size and types of fasteners, as well as the appropriate torque or pressure required during installation.
By carefully selecting suitable fasteners and following the manufacturer’s instructions, you can confidently attach the floor pans without welding. This approach allows for a flexible and effective installation process, catering to the unique requirements of your vehicle.
Remember, install floor pans securely, as it is essential for ensuring the longevity and reliability of the floor pans, so take the time to choose the appropriate fastening method and follow the recommended guidelines for a successful installation.
Sealing and reinforcing
To install floor pans without welding securely, it’s essential to seal and reinforce the edges and seams of the floor pans. This prevents leaks and strengthens the bond between the floor pans and the vehicle’s body. Sealer is an effective tool for achieving a watertight seal along the edges and seams.
In addition to a sealer, using adhesive provides extra reinforcement for the installation. Metal blast glue, for instance, enhances the bond between the floor pans and the vehicle’s body. Apply the adhesive strategically in key areas where the floor pans meet the body, allowing sufficient drying time for a strong connection.
By combining seam sealer and adhesive, you can confidently seal and reinforce the car floor pans, ensuring long-lasting durability for your vehicle restoration project. These measures protect against leaks and contribute to the overall quality and longevity of the installation.
Finishing touches
To achieve a professional finish and seamless integration with the vehicle’s interior, it is crucial to pay attention to the finer details during the entire floor pan installation process. One important step is to carefully trim any excess material from the floor pans using an angle grinder or an appropriate cutting tool.
Additionally, it is essential to smooth out any rough edges that may be present on the floor pans. Using a wire brush or sandpaper, carefully sand down these rough areas to create a smooth and even surface.
This not only improves the aesthetics but also ensures a comfortable and safe environment within the vehicle. By investing time and effort into these finishing touches, you can seamlessly blend the new floor pans with the surrounding floor area, achieving a cohesive and visually appealing result.
Remember, attention to detail is key in this process. Take your time to ensure the floor pans are properly trimmed, and the edges are smoothed out. This meticulous approach will not only enhance the overall appearance of your vehicle but also contribute to its long-lasting durability and functionality.
Rust prevention and maintenance
To prevent future rust and maintain the newly installed floor pans, follow these guidelines. Apply a rust converter to any remaining rust on the car floor, following the product instructions.
Apply a rust-resistant primer to the treated areas to provide a protective barrier against corrosion.
Consider using a rust-proofing product, such as Rust Bullet, on the floor pans to enhance their longevity. Regularly inspect the floor pans for any signs of rust or damage and address them promptly.
Conclusion
In conclusion, this comprehensive guide answers your question about how to install floor pans without welding. By following the provided steps and paying attention to safety precautions, you can restore your vehicle’s structural integrity and achieve a visually appealing and long-lasting result.
Throughout the installing floor pans process, remember to prioritize safety by wearing appropriate protective gear and working in a well-ventilated area. Take your time at each stage, ensuring precise alignment and proper positioning of the car floor pans.
By doing so, you will ensure a secure and seamless integration with your vehicle’s interior and the question of how to install floor pans without welding will be answered.
FAQ
A: Replacing floor pans without welding can be a manageable task, although the level of difficulty may vary based on the vehicle and the extent of the damage. With proper tools, instructions, and attention to detail, it is possible to successfully complete the installing floor pans process.
This involves thorough preparation, ensuring the new floor pans fit correctly, and securely fastening them in place. By following these steps, enthusiasts can tackle partial floor pan replacement projects with confidence and restore the integrity of their vehicles.
A: When it comes to dealing with structural rust without welding, patch panels, and adhesive bonding methods offer effective solutions.
By carefully removing the rusted sections, replacing them with new sheet metal patch panels, and securely bonding them with adhesive, you can successfully restore the structural integrity of the affected areas. These are the methods of installing floor pans without welding.
A: When it comes to repairing sheet metal without welding, adhesive bonding methods come into play. By utilizing adhesive products specifically formulated for automotive repairs, you can effectively and securely use filling metal holes in damaged areas.
These adhesive bonding methods offer a reliable alternative to welding floor pans, allowing you to achieve a strong and durable repair.
Whether you’re addressing small dents, surface rust damage, or other sheet metal issues, the use of automotive-grade adhesives ensures a solid bond between the new patches and the existing sheet metal, resulting in a seamless and long-lasting repair.
